This little chore is like falling out of bed.
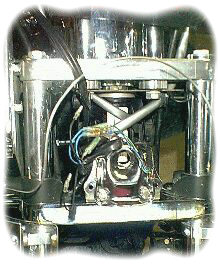
1. Remove stock headlight, disconnect wiring.
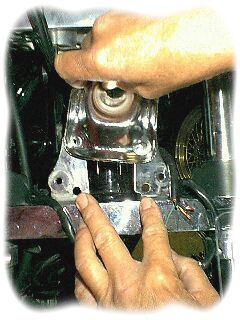
2. Loosen the stock mounting bracket bolt, rotate the bracket so the
squared side faces
into the center, angle them slightly, center further forward than outside
edge.


Take the new light mounting bracket, as shown and line up the holes,
attach with 5/16-18 x 3/4 set screw, nut and lockwasher, I used stainless
steel.
3. Cut the stock plug off the wire harness, be sure to note which
color goes
where, use butt connectors and attach the supplied plug and wire to
the harness,be sure to have the plug in the housing before you splice it
in, OOPS! Use wire ties to clean up the mass of wiring that was originally
hidden in the stock headlight housing. Assemble the sealed beam etc.,
plug it up and make sure it works.
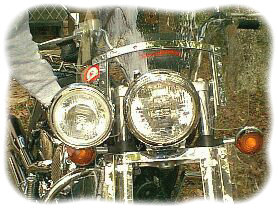
4. Attach the lamp to the bracket, position it as needed, sit back
and admire it.
I rode in front of Donna and Miss Priss last Saturday, we went
to El Campo, started before sunup, believe me that is one big headlight,
a blind man could
see it coming, very COOL looking.
 There is not any excessive vibration that I noticed and I'm confident
that the
way it is mounted will be OK long term, Donna has put 300 miles on
the bike
since we put it on and everything is fine so far. Inspect the mount
periodically
for cracks and check that the set screws are tight, its a done deal.
Michael North,
[email protected].... |


